Sunday, August 28, 2011
In Honor of Dave Ramsey
Labels:
Cupcakes
Thursday, August 18, 2011
Kathryn E.'s Bridal Shower
M
Labels:
Cupcakes
Tuesday, August 9, 2011
Miami Heat Cake
This cake was made for my nephew's 13th birthday party. He requested a Lebron James jersey from the Miami Heat. I created the cake using a cookie sheet as my baking pan. I made 2 cakes using the cookie sheet and filled the chocolate cakes with an oreo filling. I cut out the neckline of the cake and then covered it in white frondant. I have to give my husband credit for creating a template of the letters and number for me which I then cut out of red fondant. I traced the edges of the letters using a black edible marker. My husband also created the NBA logo found in the upper left hand corner of the jersey. He took a white piece of fondant and drew it freehand using the edible markers. I think the birthday boy was quite pleased.
Bake on!
Michele
Aargh, Matey!
This pirate cake was created for my nephew's 5th birthday party. I used 2 eight inch cakes layered with filling to create the pirate's face. I covered the whole thing in a flesh tone fondant and then added the accessory pieces. What a success!
Bake on!
Michele
Bridal Shower Tea Party Hat Cake
This hat cake was made for a bridal shower tea party. All attendees of the bridal shower wore a tea party hat. We constructed this cake using 1-10 inch cake as the base or brim and 2 layered 8-inch cakes. We fondanted the cakes separately using the brown ribbon to hide the seam. We achieved the brim my extending the fondant beyond the 10 inch cake instead of trimming it at the edge of the cake. We added the daisy, feathers, and pearls for accessories. Though they aren't edible, they did add a nice finishing touch.
Labels:
Cake
Wednesday, July 6, 2011
Flag Cake
Made this patriotic cake for my super-duper cute goddaughter's baptism. I know, not the usual cake for a baptism, but it seemed kind of fitting being it was the day before the fourth of July. I had intentions of decorating the outside cuter but was frightened with the thought of it getting ruined in the heat and drive to the cabin. Caught everyone by surprise though when the first piece was cut!
And I was dying to try this design after I saw it pinterest (my new obsession!) And being the impatient person that I am, I just couldn't keep this one on the back burner until next year!


And here is the trick to all of the madness. Make a double batch of your favorite white cake recipe. Color the first batch red and divide it into two cake pans. With the second batch and divide it in half. Leave one half white and color the second half blue. When completed you will have two red cakes, one white, and one blue.
After they have cooled. Using a serrated knife or cake leveler, cut the two red cakes and one white horizontally in half. On your cake plate, start by place one of the red halves. Spread the top with a little bit of white filling. Then place one of the white layers on top and spread the top with white filling. And finally, put the red layer on top and spread with filling.
Now for the fun and clever part! Take the blue layer and cut a circle in the middle. I used a ten inch cake pan and cut a six inch circle in the middle. Works well to use a bowl or cake pan as a template. You can now indulge and eat the blue six inch circle if you wish!! Then take the remaining white layer and one of the red layers and stack them together. Using the same bowl or cake pan template, cut circles in the red and white layers. And again you can indulge in the outside rings of red and white cake!
And for the final assembly steps! Place the blue outside ring on top. Put the white circle in the middle first. Top with filling and then place the red circle on top! I highly suggest doing a crumb coat! And then frost and decorate as desired!!
And I was dying to try this design after I saw it pinterest (my new obsession!) And being the impatient person that I am, I just couldn't keep this one on the back burner until next year!
And here is the trick to all of the madness. Make a double batch of your favorite white cake recipe. Color the first batch red and divide it into two cake pans. With the second batch and divide it in half. Leave one half white and color the second half blue. When completed you will have two red cakes, one white, and one blue.
After they have cooled. Using a serrated knife or cake leveler, cut the two red cakes and one white horizontally in half. On your cake plate, start by place one of the red halves. Spread the top with a little bit of white filling. Then place one of the white layers on top and spread the top with white filling. And finally, put the red layer on top and spread with filling.
Now for the fun and clever part! Take the blue layer and cut a circle in the middle. I used a ten inch cake pan and cut a six inch circle in the middle. Works well to use a bowl or cake pan as a template. You can now indulge and eat the blue six inch circle if you wish!! Then take the remaining white layer and one of the red layers and stack them together. Using the same bowl or cake pan template, cut circles in the red and white layers. And again you can indulge in the outside rings of red and white cake!
And for the final assembly steps! Place the blue outside ring on top. Put the white circle in the middle first. Top with filling and then place the red circle on top! I highly suggest doing a crumb coat! And then frost and decorate as desired!!
Monday, June 27, 2011
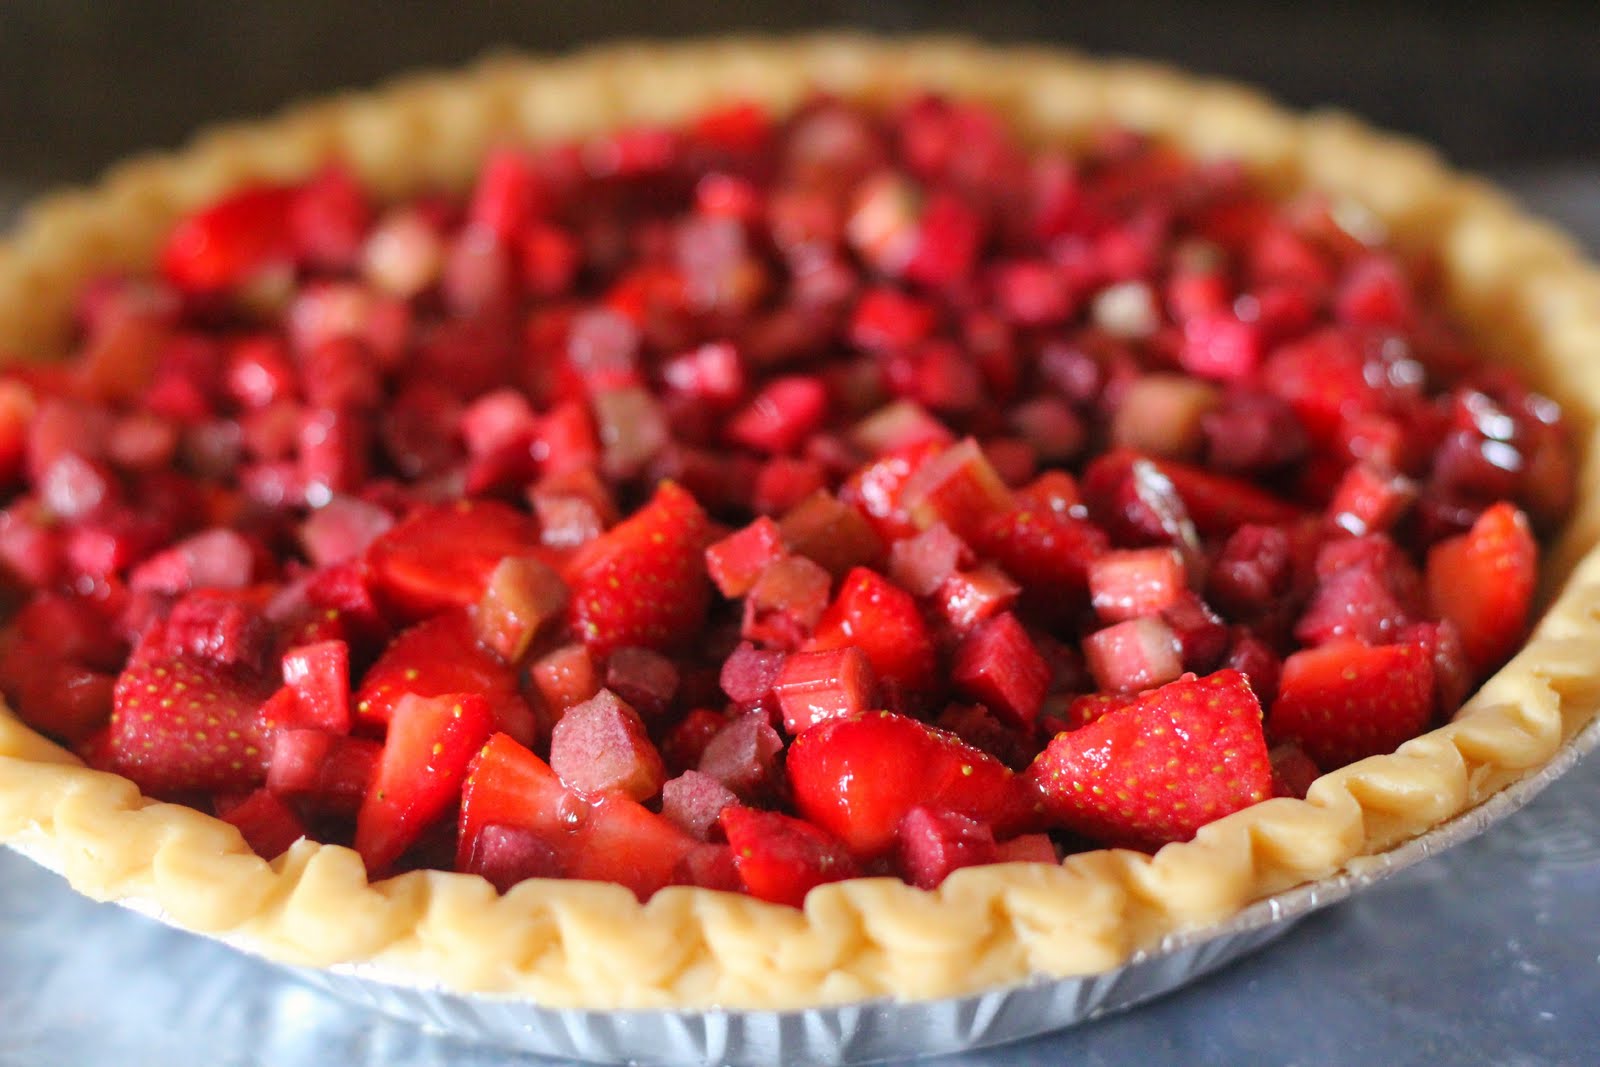
Strawberry Rhubarb Pie
I'm baaaaccckk! Can't believe it has been a month and a half since the last post!
Thought I would come back with a bang though! This pie is A-M-A-Z-I-N-G! Love the strawberry and rhubarb combo. The tartness of the rhubarb and sweetness of the strawberries balance very nicely! And best of all, the strawberries and rhubarb are both fresh from the garden! Picked the strawberries today at a local farm and the rhubarb is from my grandma's garden!

And to top it off, the pie is covered with a buttery streusel topping! Definitely my favorite part! I will always pick a streusel topped pie over a double-crusted pie! Don't even have to think about it!

Strawberry Rhubarb Pie
for the filling:
2 3/4 cups sliced rhubarb
2 cups sliced strawberries
2/3 cup sugar
3 tablespoons cornstarch
for the topping:
1 cup flour
1/2 cup brown sugar
1/2 cup butter, cold and cut into small pieces
1 unbaked single pie crust
In a medium sized bowl, combine the rhubarb, strawberries, sugar, and cornstarch. Mix well. The mixture should be thick and syrupy after mixing. Pour the mixture into the pie crust and spread evenly.
In a second bowl, combine the flour and sugar. Using a pastry cutter, cut the butter into the flour/sugar mixture until it resembles coarse crumbs. Spoon streusel mixture evenly over the top of the pie.
Place the pie on a rimmed baking sheet and bake at 400 degrees for 50-55 minutes. You may need to cover the pie crust edges with foil halfway through to prevent burning.
Let the pie cool completely before cutting. Serve with a dallop of whipped cream or scoop of ice cream!
Thought I would come back with a bang though! This pie is A-M-A-Z-I-N-G! Love the strawberry and rhubarb combo. The tartness of the rhubarb and sweetness of the strawberries balance very nicely! And best of all, the strawberries and rhubarb are both fresh from the garden! Picked the strawberries today at a local farm and the rhubarb is from my grandma's garden!

And to top it off, the pie is covered with a buttery streusel topping! Definitely my favorite part! I will always pick a streusel topped pie over a double-crusted pie! Don't even have to think about it!

Strawberry Rhubarb Pie
for the filling:
2 3/4 cups sliced rhubarb
2 cups sliced strawberries
2/3 cup sugar
3 tablespoons cornstarch
for the topping:
1 cup flour
1/2 cup brown sugar
1/2 cup butter, cold and cut into small pieces
1 unbaked single pie crust
In a medium sized bowl, combine the rhubarb, strawberries, sugar, and cornstarch. Mix well. The mixture should be thick and syrupy after mixing. Pour the mixture into the pie crust and spread evenly.
In a second bowl, combine the flour and sugar. Using a pastry cutter, cut the butter into the flour/sugar mixture until it resembles coarse crumbs. Spoon streusel mixture evenly over the top of the pie.
Place the pie on a rimmed baking sheet and bake at 400 degrees for 50-55 minutes. You may need to cover the pie crust edges with foil halfway through to prevent burning.
Let the pie cool completely before cutting. Serve with a dallop of whipped cream or scoop of ice cream!
Labels:
Pie
Subscribe to:
Posts (Atom)